Budget Astrophotography: Capturing the ISS with a Cheap Telephoto Lens
Introduction
Photographing the International Space Station (ISS) from your backyard is a thrilling challenge that doesn't require expensive gear. One enthusiast, known as [saveitforparts], proved this by using a $15 thrift store lens—a 400mm Sigma XQ with a 2x teleconverter—paired with a Sony NEX-3 mirrorless camera. The result? A white dot zipping across the sky, but technically a capture! This guide will show you how to replicate that feat, turning budget equipment into a tool for space photography. The key lies in precise timing, steady setup, and a bit of patience. Whether you're using a vintage film lens or a modern telephoto, these steps will help you aim for the stars—literally.
What You Need
- Camera: A mirrorless or DSLR with manual controls and a lens adapter (if using vintage glass).
- Telephoto Lens: At least 400mm focal length; a teleconverter (e.g., 2x) can boost reach. Thrift stores often have old Sigma, Tamron, or Canon FD lenses.
- Tripod: Sturdy enough to support the lens (older lenses may have their own tripod collar).
- Lens Adapter: Match your camera mount to the lens (e.g., FD to Sony E-mount).
- Timing Tool: N2YO.com or a similar ISS tracker app for pass predictions.
- Solar Filter (optional): For capturing ISS transits across the Sun.
- Remote Shutter Release (optional): To minimize vibration.
Step-by-Step Guide
Step 1: Gather Your Equipment
Start by assembling your gear. Look for a long telephoto lens at a thrift store—400mm or longer is ideal. The Sigma XQ 400mm with a 2x teleconverter (as used by [saveitforparts]) gives an effective 800mm on a full-frame camera. Pair it with a compatible adapter for your camera. Ensure the lens has a tripod mount to avoid strain on the camera body. Test the setup on a stationary object first (like a distant tree) to confirm focus and sharpness.
Step 2: Find the ISS Pass
Visit N2YO.com (or use an app like ISS Detector). Enter your location and check the upcoming passes. Look for passes with high maximum elevation (above 60°) and good brightness (magnitude -3 or brighter). The ISS moves fast—about 7.66 km/s—so you'll need a pass that lasts 3–6 minutes. Note the start time, direction (e.g., SW to NE), and maximum altitude. Set a reminder and check weather conditions (clear skies are essential).
Step 3: Set Up Your Gear
Position your tripod on a stable surface (avoid grass if windy). Attach the lens and camera. Set the camera to manual mode (M). Pre-focus the lens to infinity—old manual lenses often have a hard stop. For precision, use live view and zoom in on a bright star or distant light to tweak focus. Set ISO to 800–1600 (higher may increase noise). Aperture: wide open (e.g., f/5.6 or f/8). Shutter speed: start at 1/500 sec to freeze motion; the ISS moves ~0.5° per second, so faster speeds reduce blur. Use burst mode to capture multiple frames.
Step 4: Aim and Track Manually
Before the pass, point your camera toward the predicted starting location (e.g., SW). Use a compass or phone app for accuracy. The ISS will appear as a bright, fast-moving star. Do not rely on auto-tracking—you must pan manually. As the ISS enters your viewfinder (or live view), gently move the tripod head to follow it. Practice this motion beforehand on a passing airplane. Keep the ISS centered in the frame; it will appear as a small dot even at 800mm. Capture a continuous burst (3–5 frames per second) to increase chances of a sharp shot.
Step 5: Capture the Image
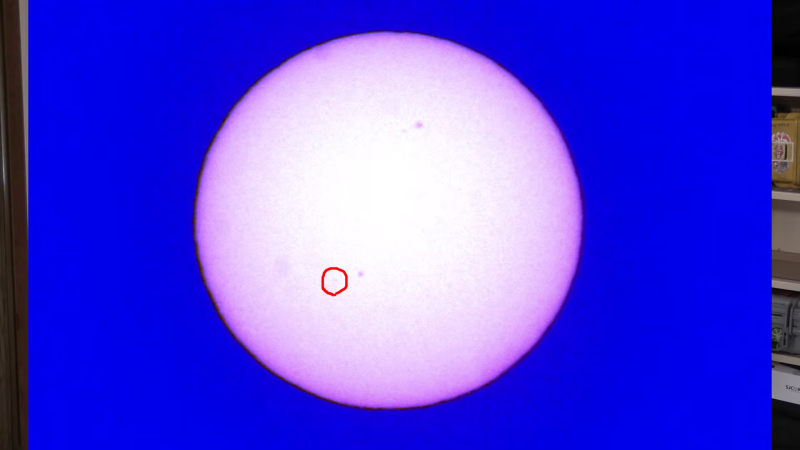
Press the shutter (use remote if available) as soon as the ISS is in the frame. You'll likely get a white streak if you don't track perfectly, or a dot if you lock on. Review your results immediately. [saveitforparts] was able to capture the ISS as a white dot but not enough zoom to show detail—this is normal at this focal length. For better results, try multiple passes and adjust settings: faster shutter (1/1000s) reduces trailing but may underexpose. Higher ISO can compensate.
Step 6 (Advanced): Capture a Solar Transit
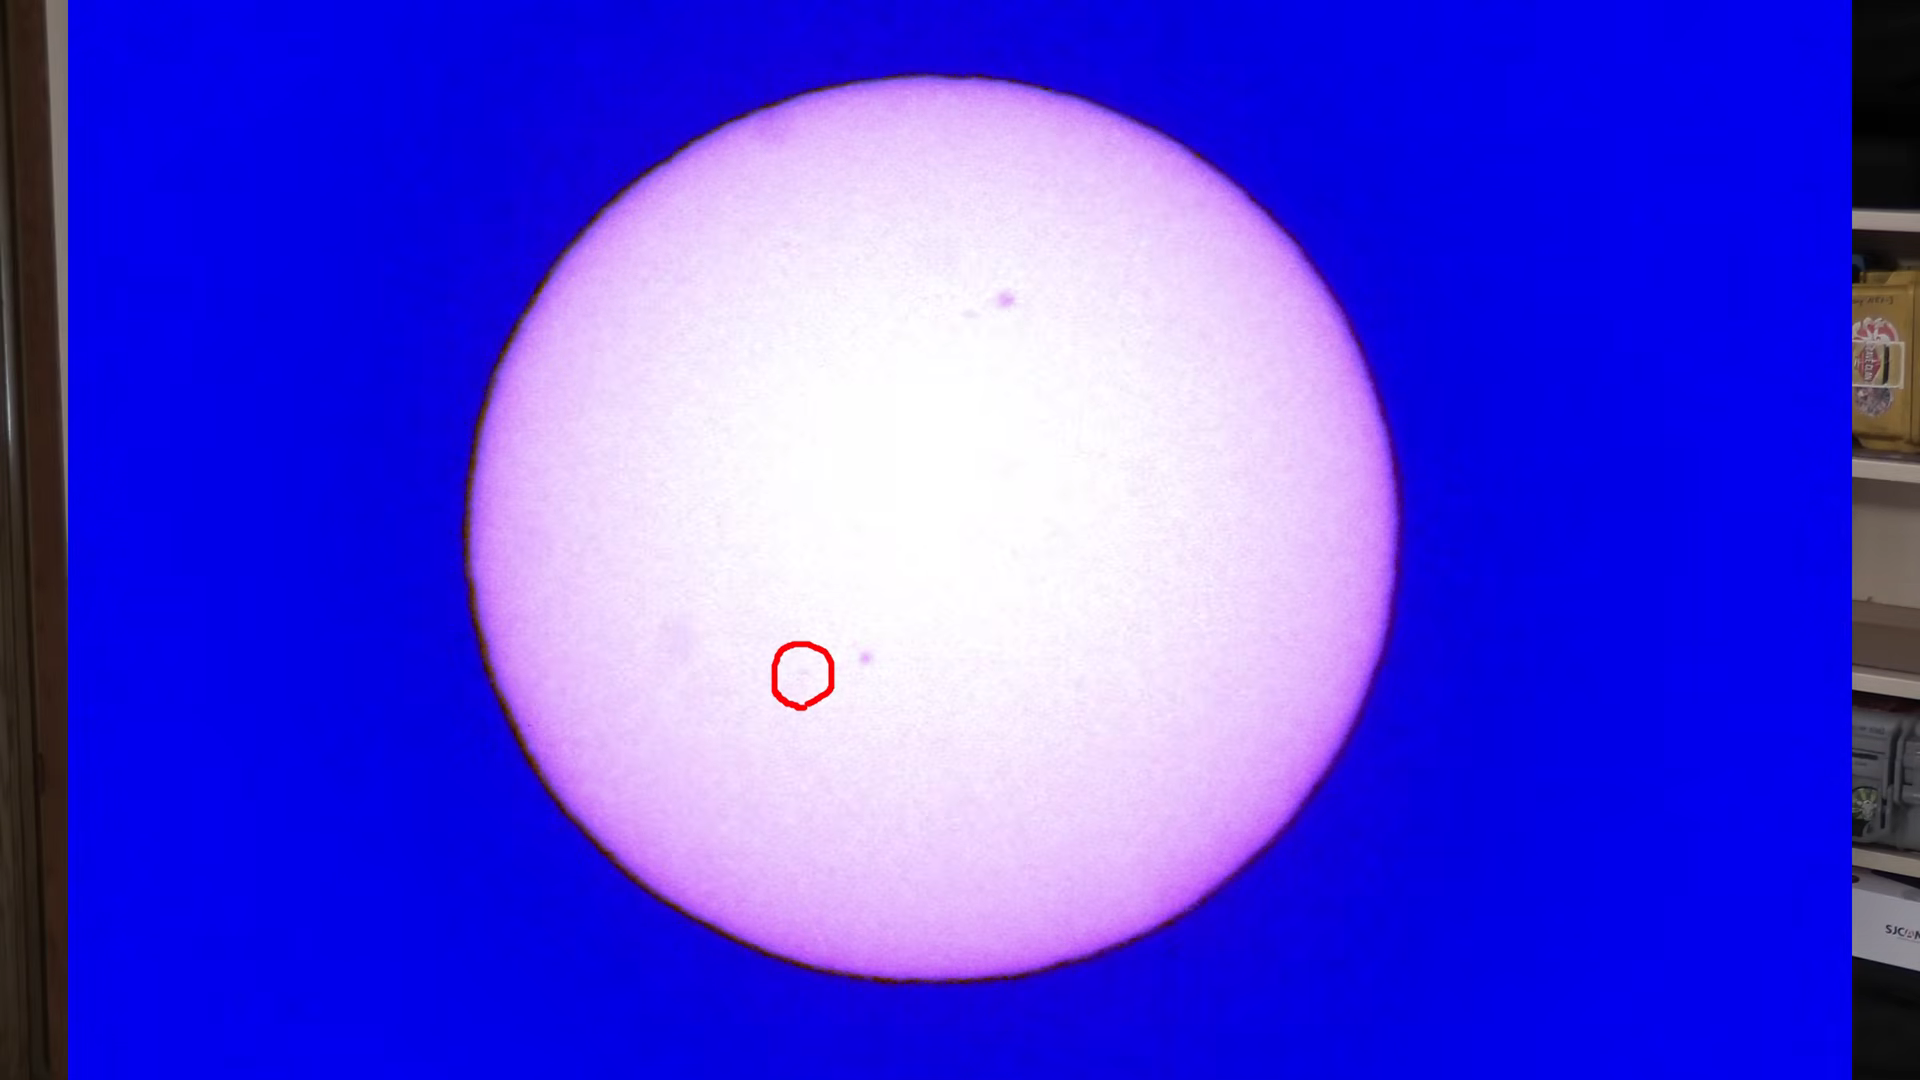
For a more dramatic shot, photograph the ISS passing in front of the Sun or Moon. Use N2YO.com's transit prediction feature (specific to your location). WARNING: Never point a camera at the Sun without a proper solar filter—it can damage your eyes and equipment. Attach a Baader solar film filter to the front of the lens. Use a fast shutter speed (1/2000s or faster) to freeze the ISS against the bright disk. The ISS will appear as a tiny silhouette—still a dot, but now you can see its shape. [saveitforparts] attempted this but the ISS remained a small speck.
Tips for Success
- Practice tracking on satellites like the Hubble Space Telescope or bright stars to build muscle memory.
- Use a video camera if possible—[saveitforparts] also tried a Canon camcorder, which can record continuous footage for later frame picking.
- Check your lens's sharpness at infinity—some old lenses may have focus shift. Test during daylight on a distant object.
- Stack multiple frames (using software like DeepSkyStacker) to reduce noise if the ISS appears as a streak.
- Stay patient: the ISS is small and fast. Even with pro gear, details are scarce without a telescope. Celebrate a dot that you can call your own!
- Share your results: If you capture the ISS with something unusual (like a Game Boy Camera), let us know on the tipsline!
For more inspiration, watch the video of [saveitforparts]'s attempt after the break.